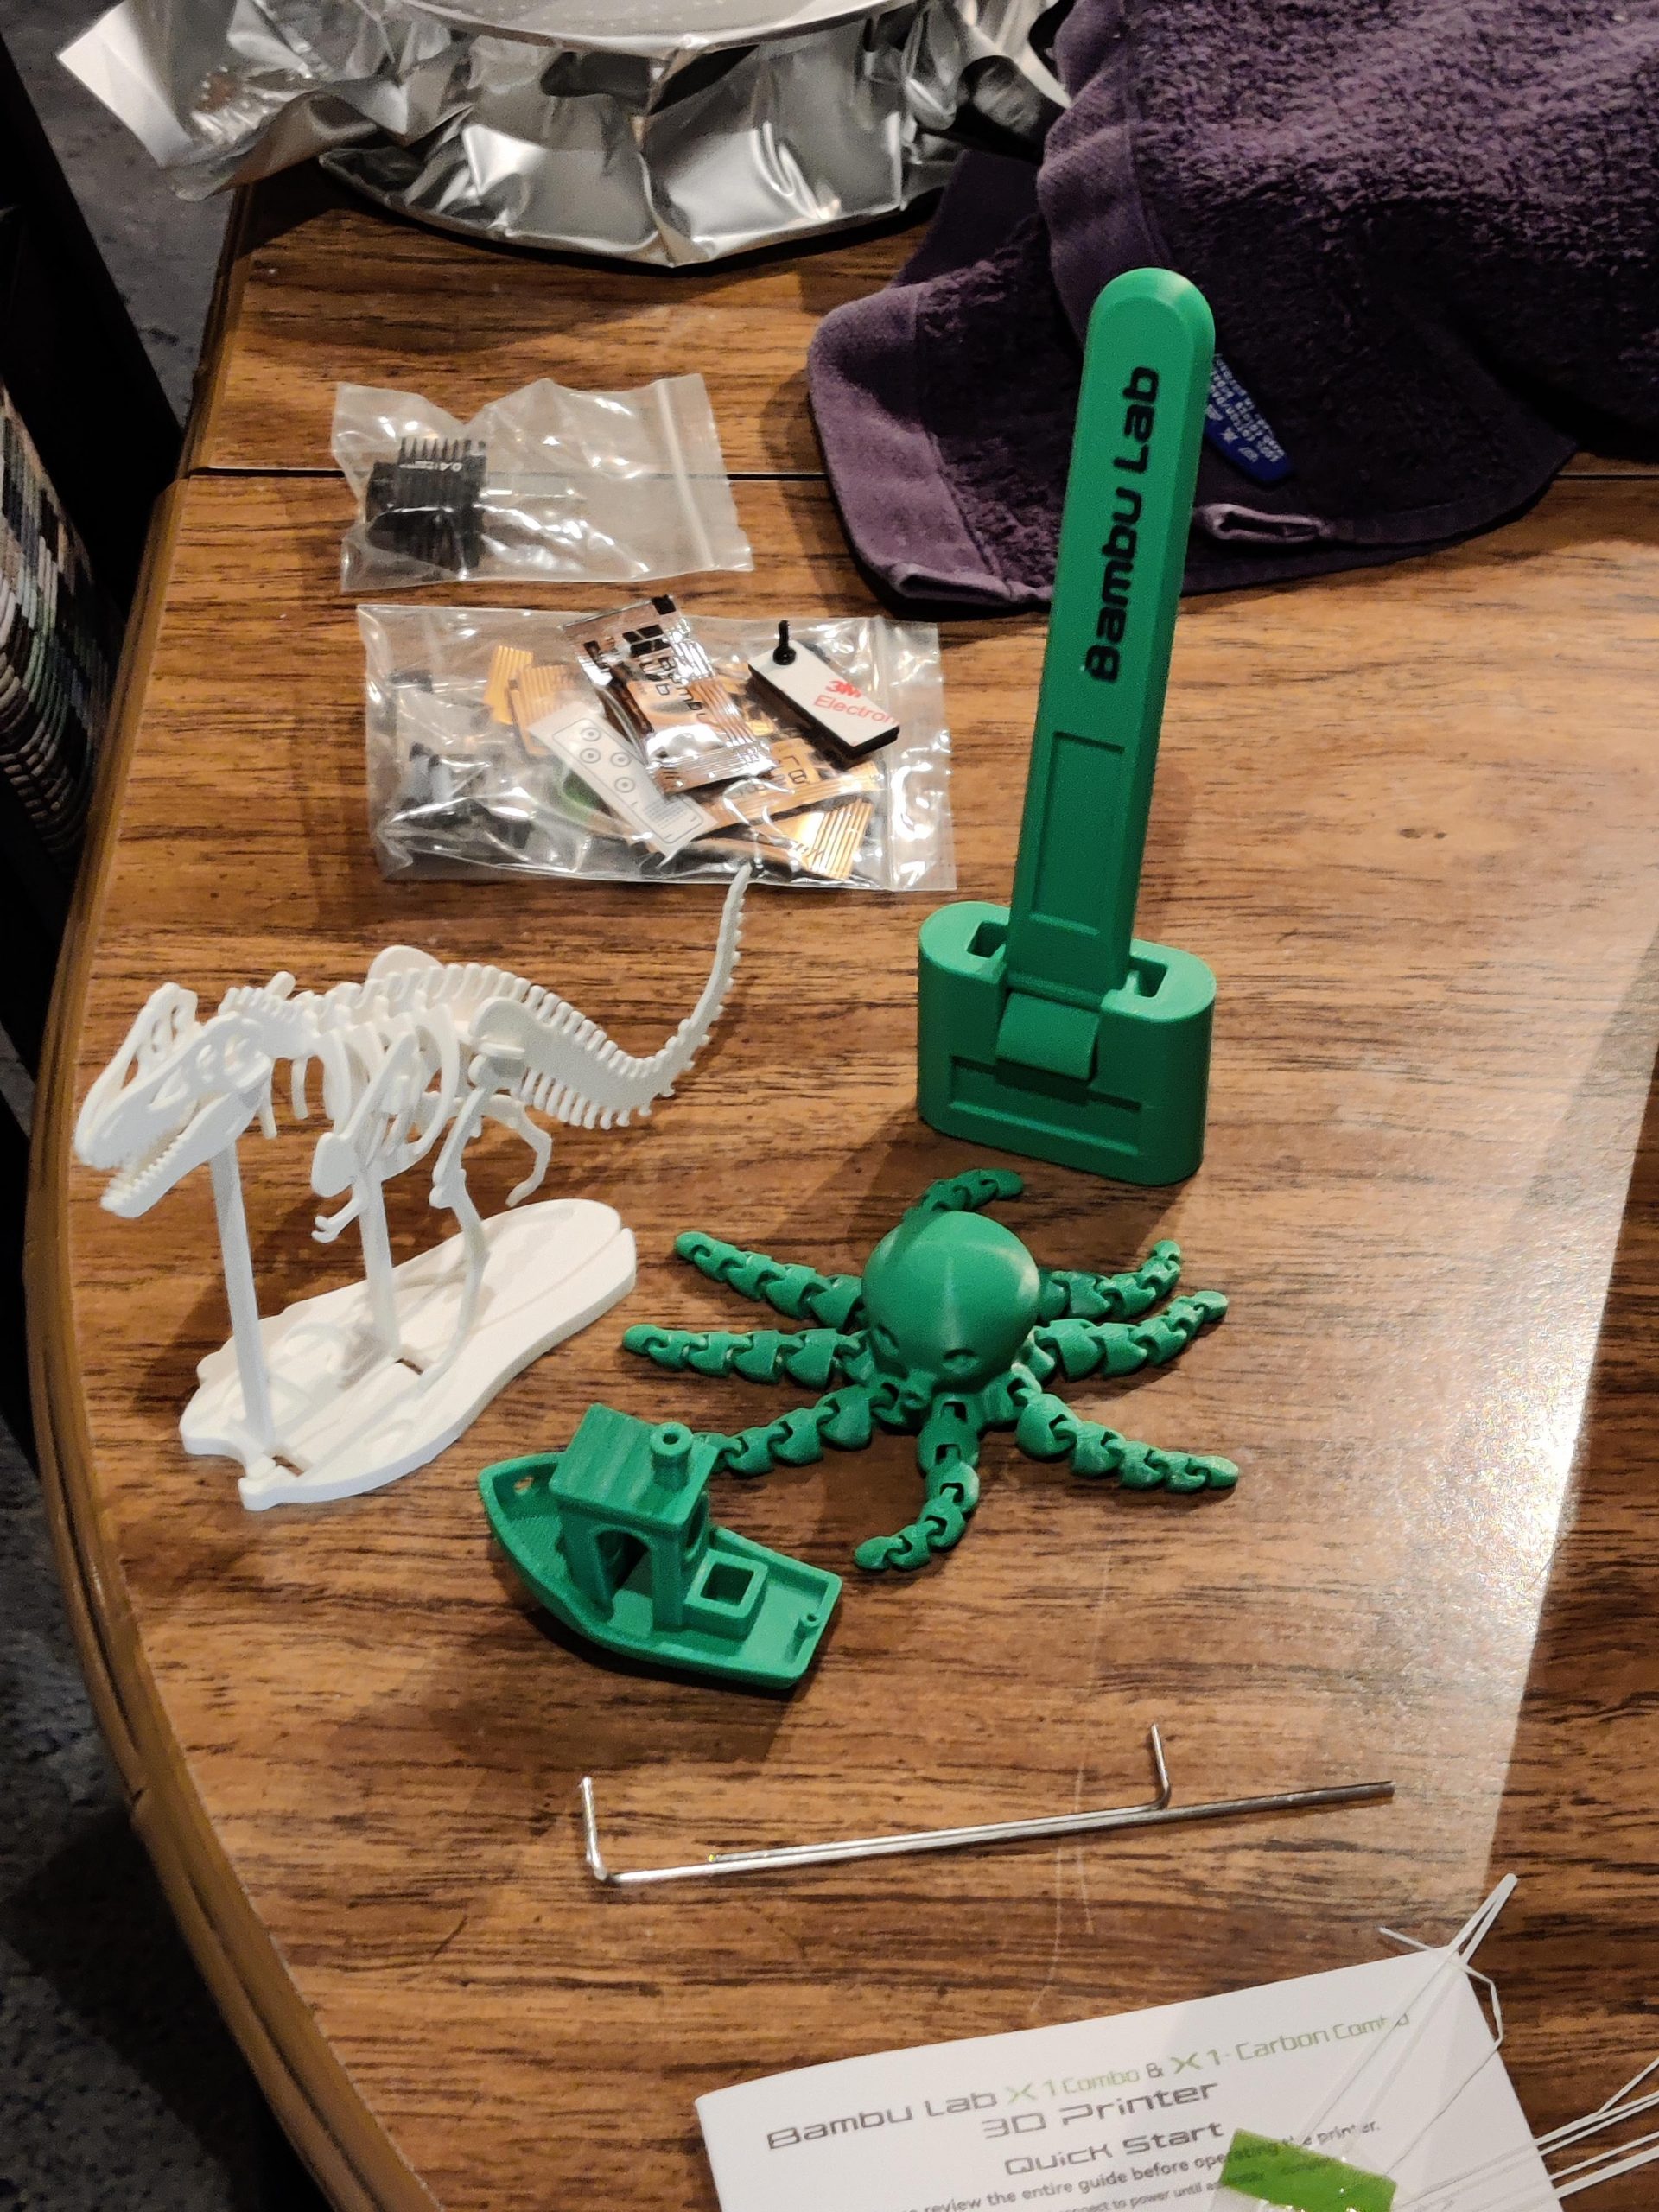
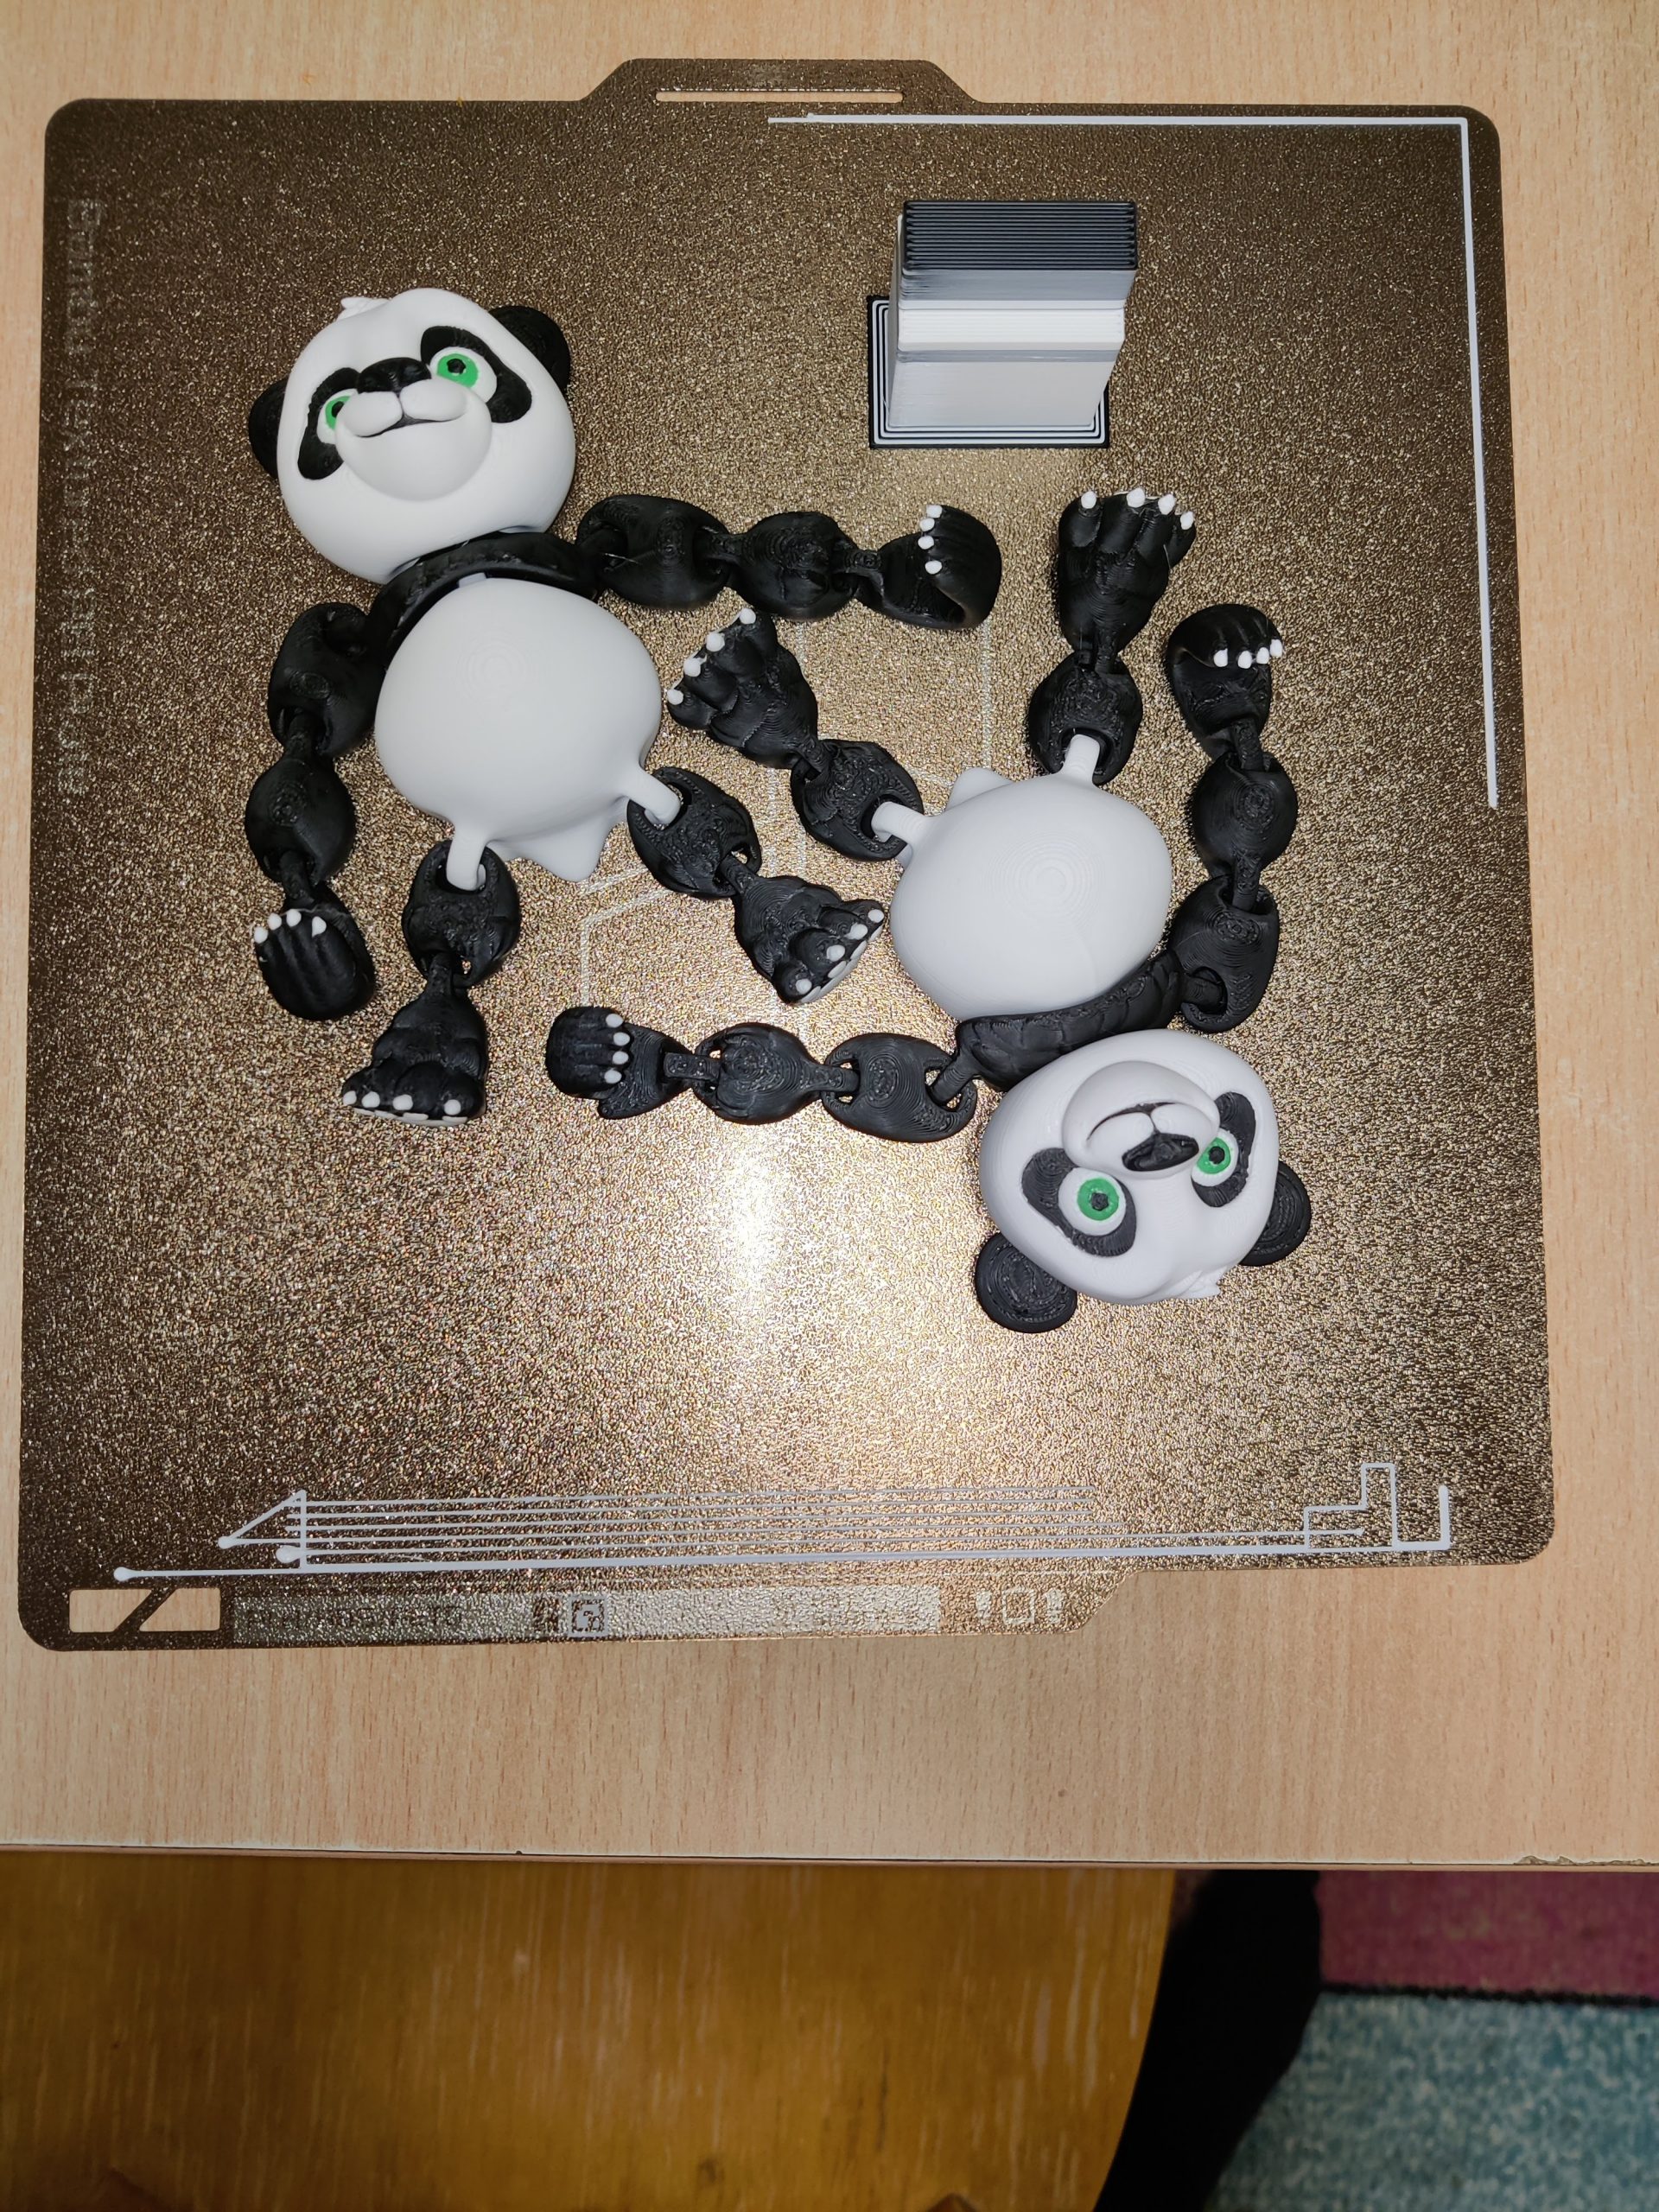
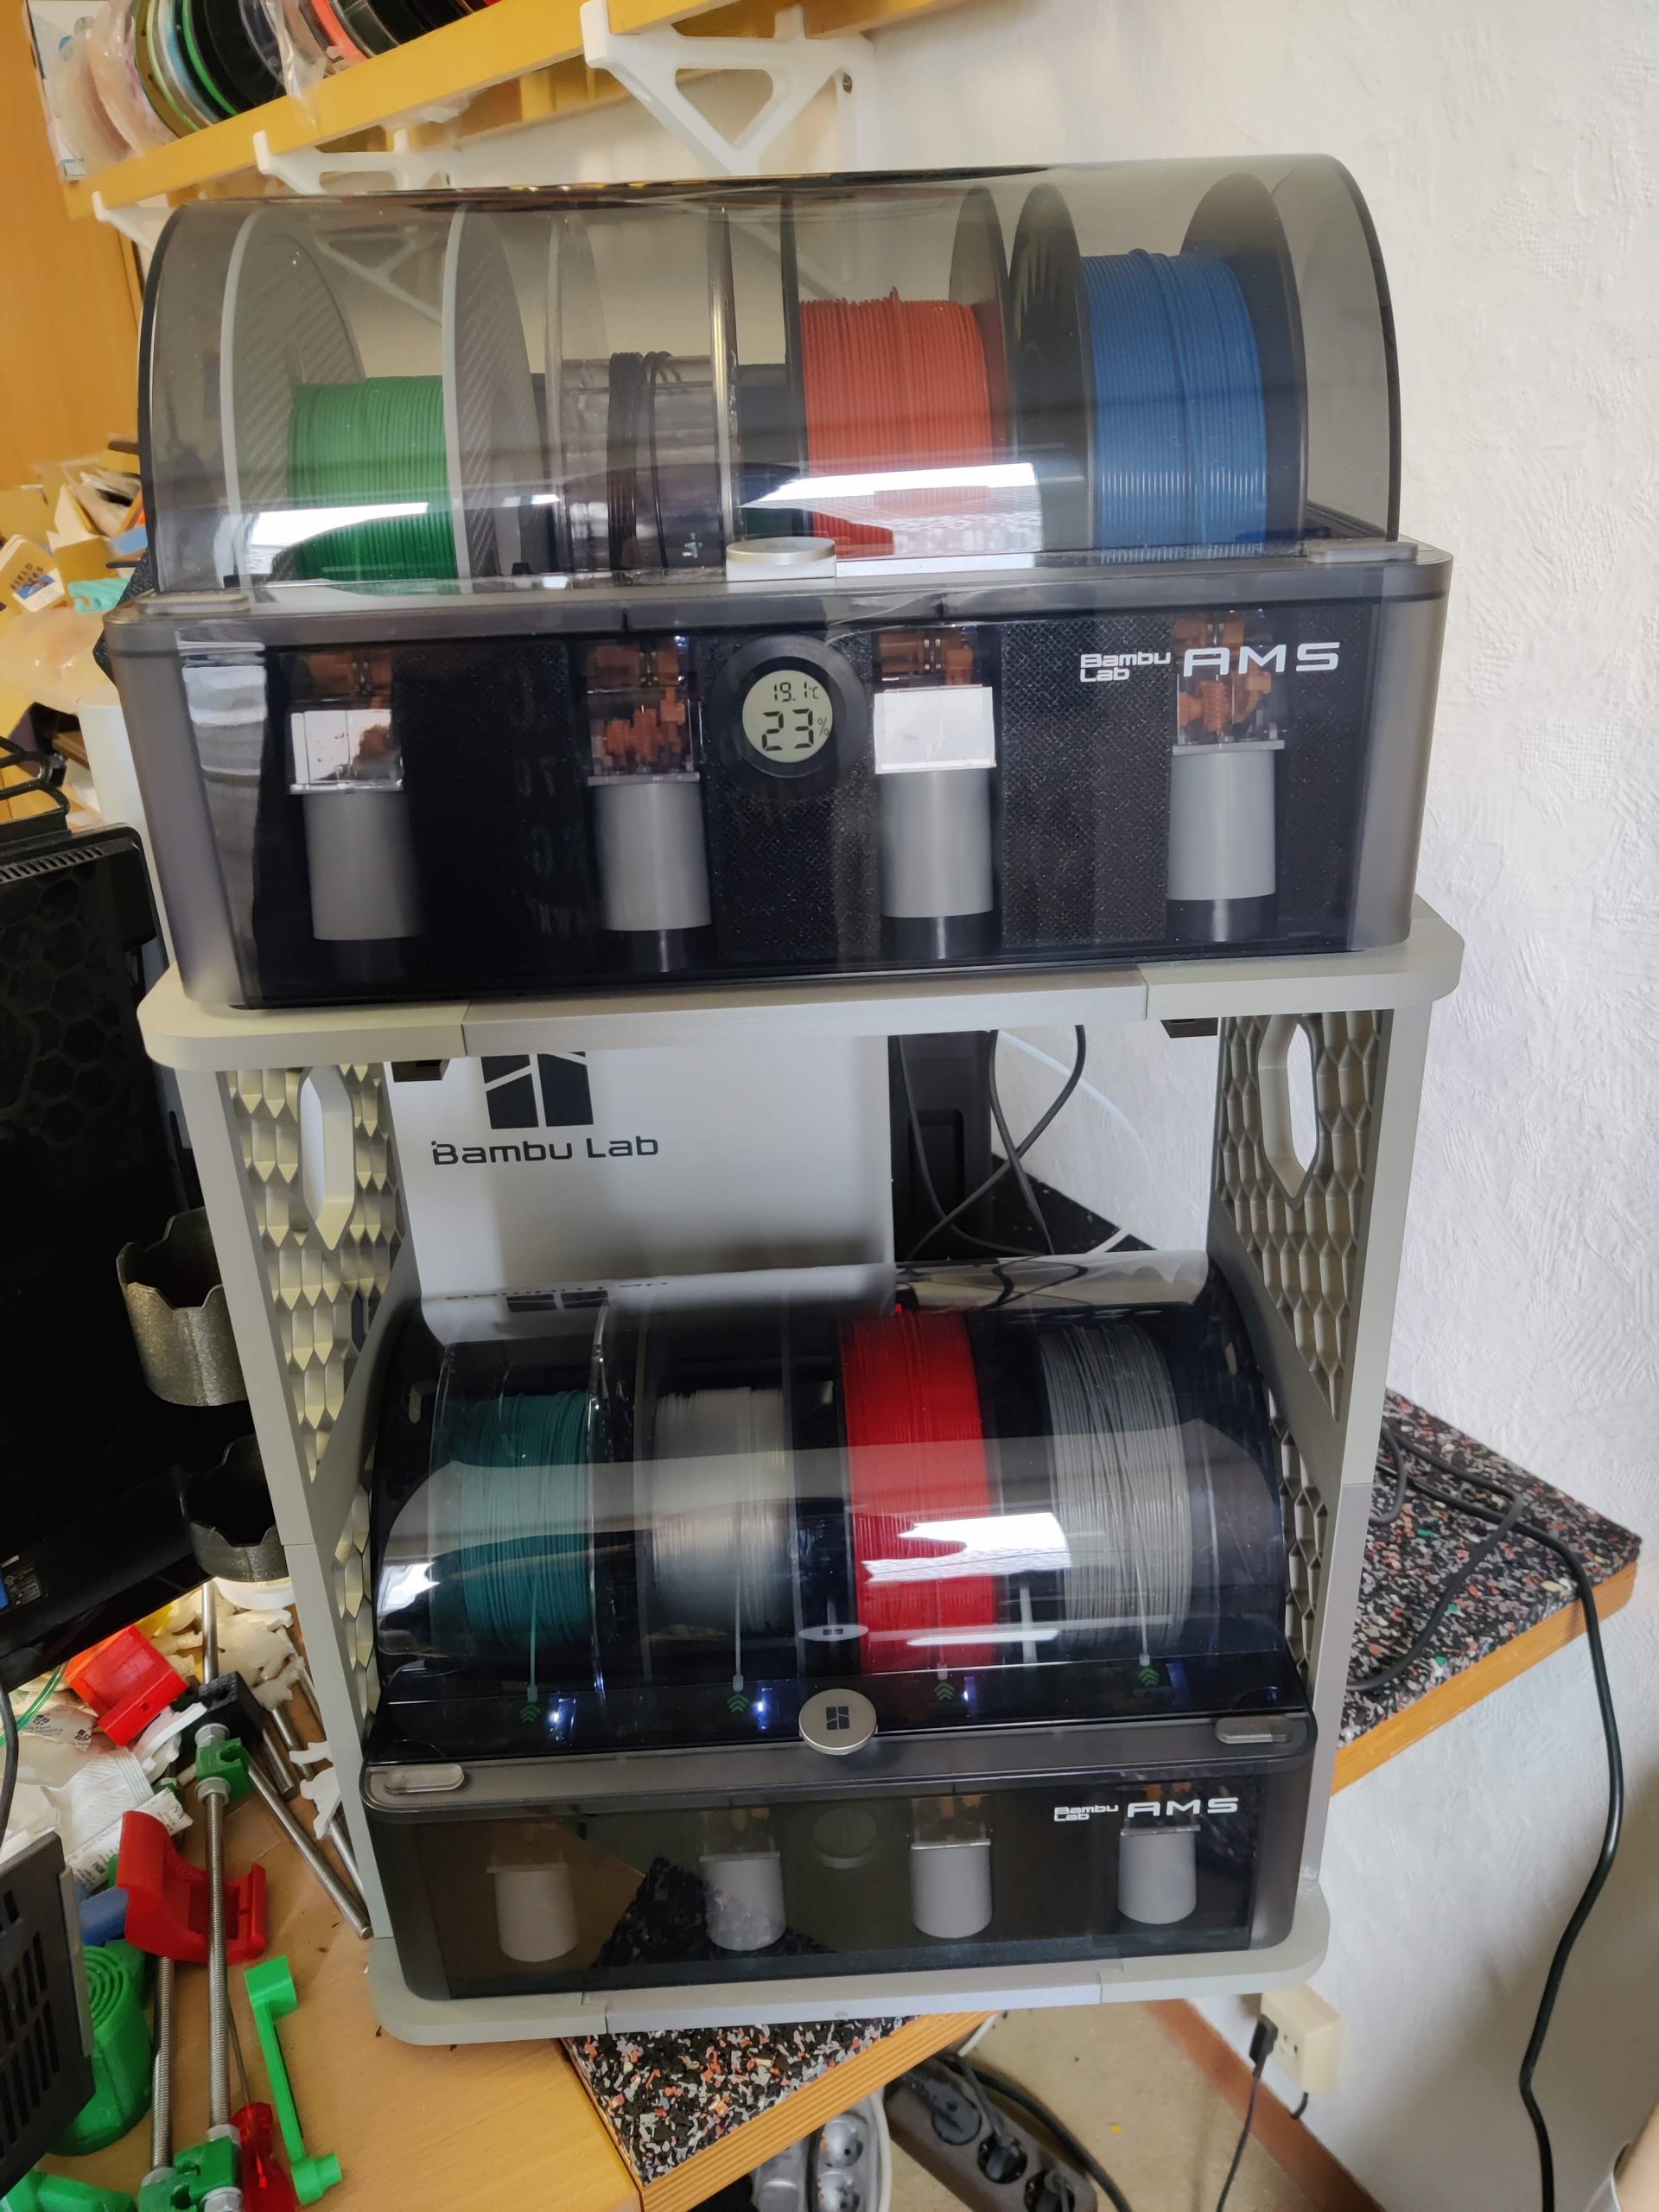
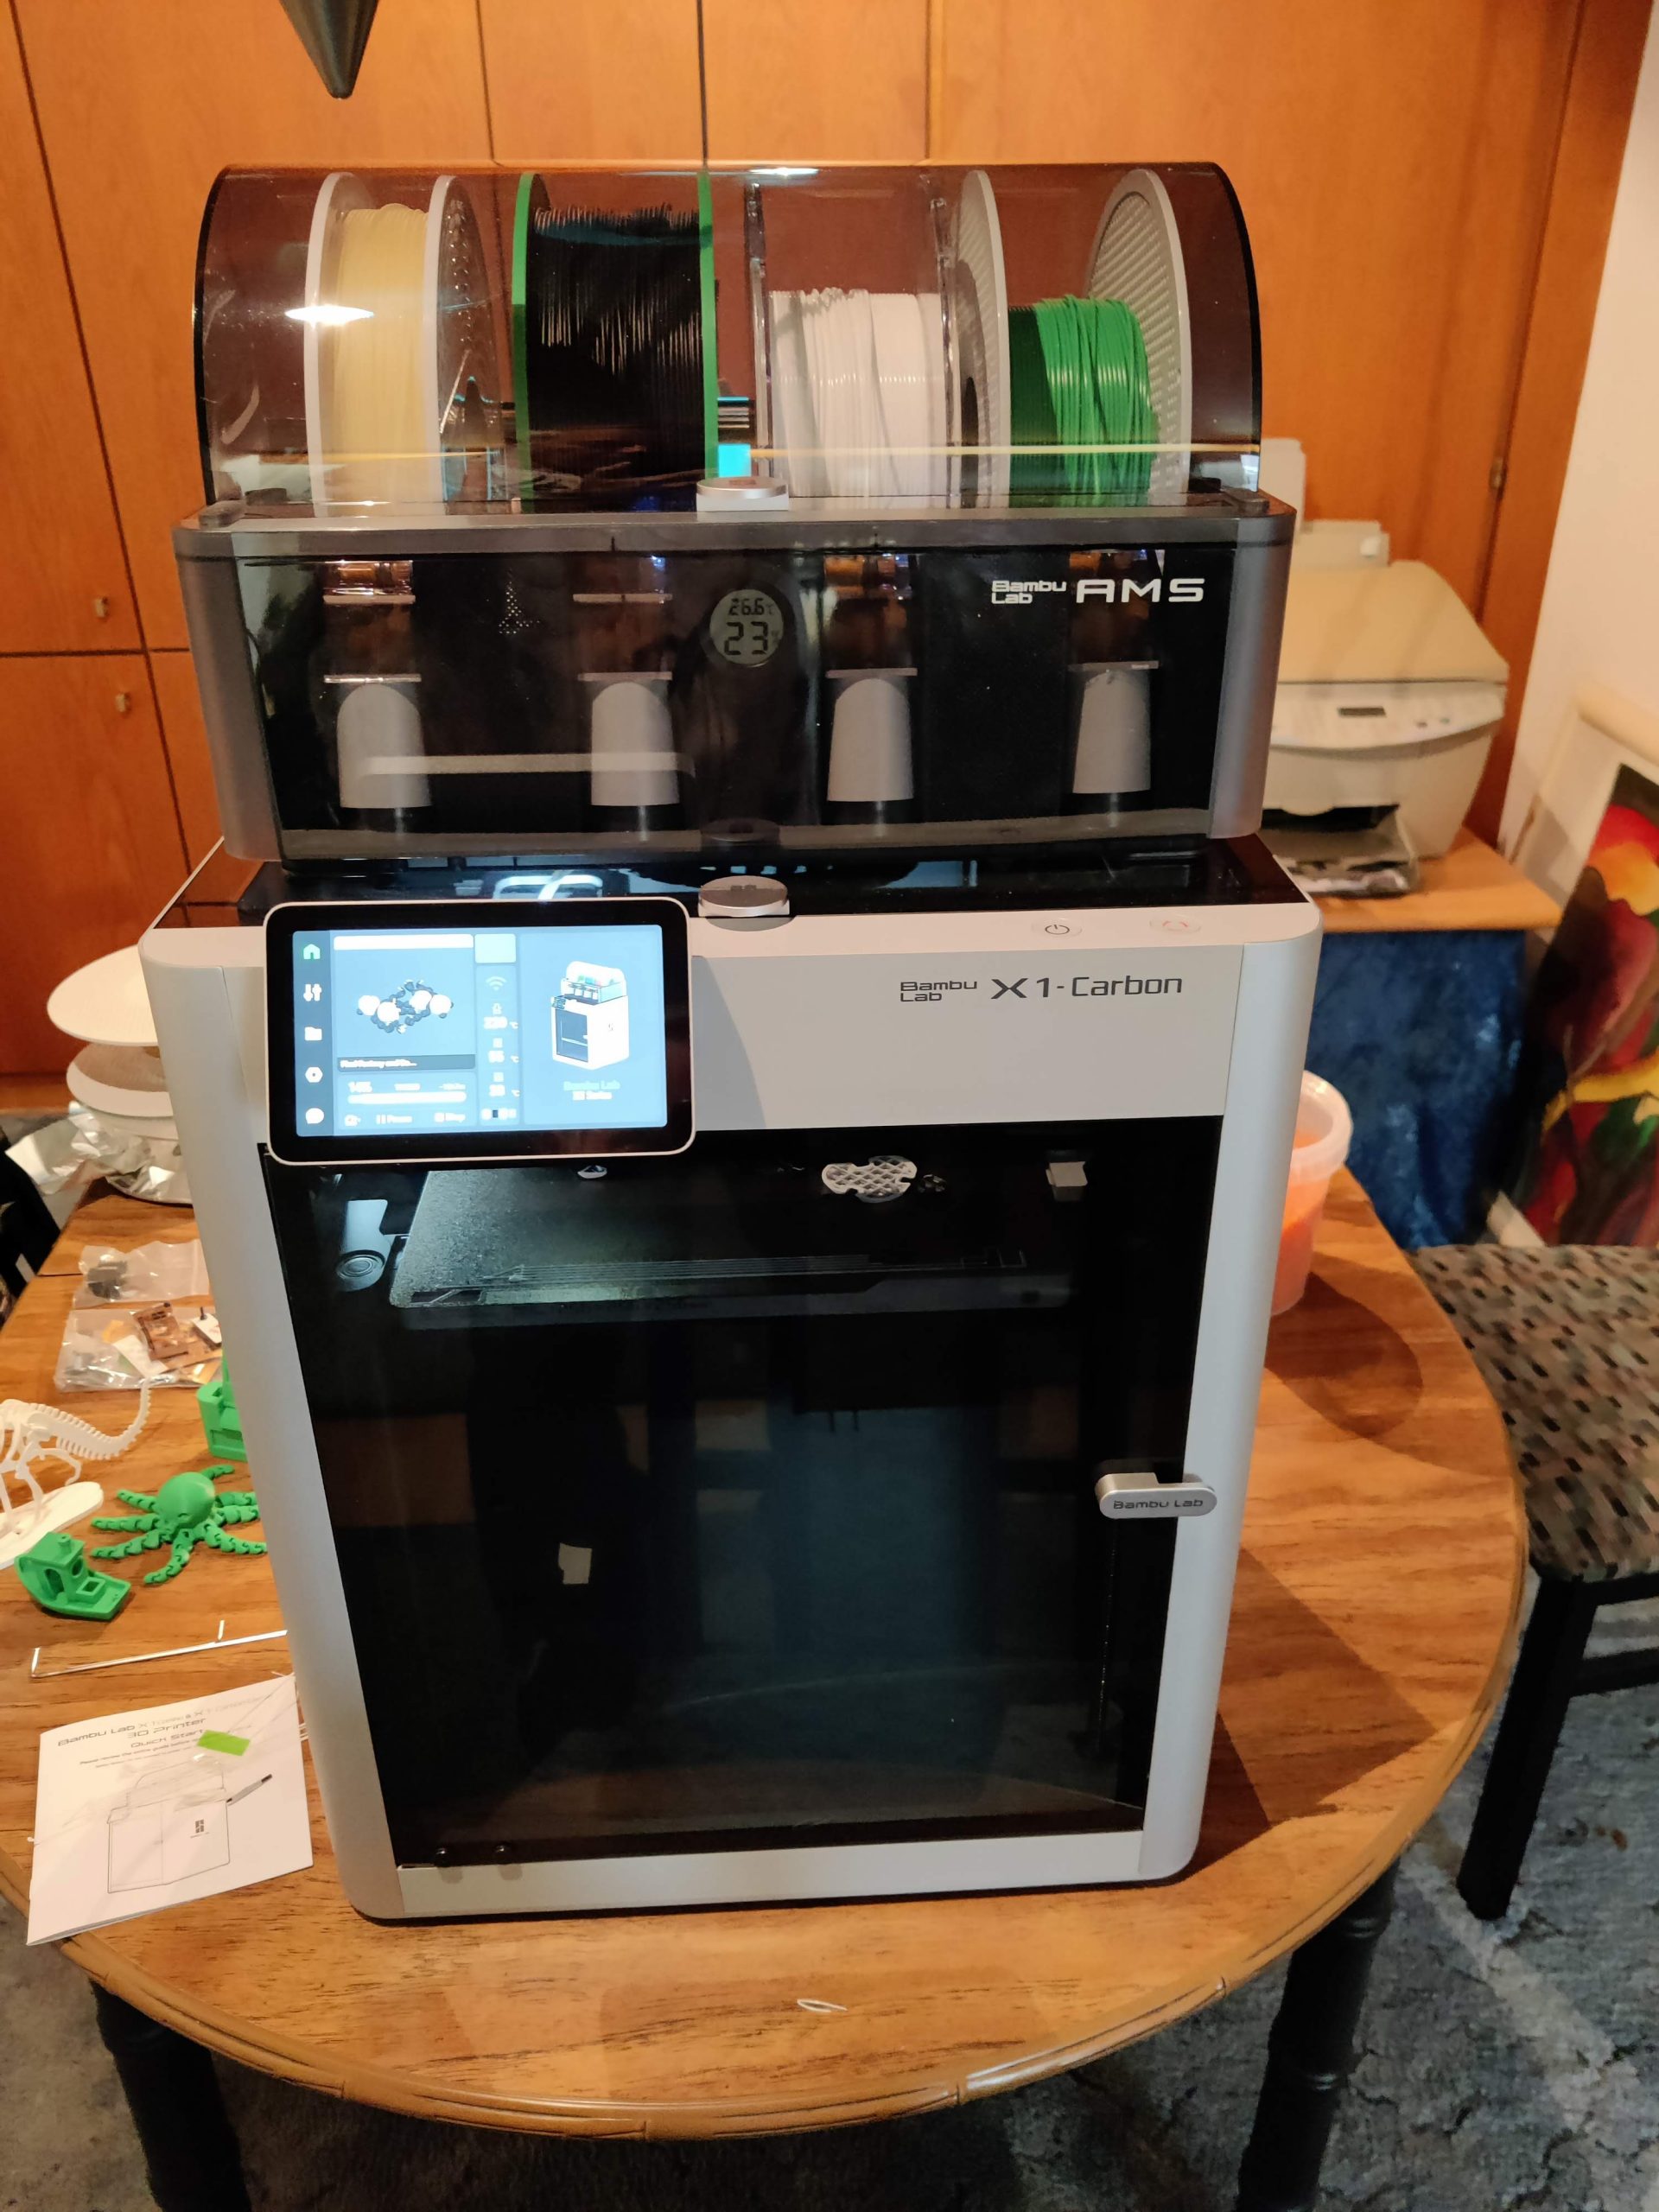
Received on Friday, November 10th, 2023 and finally unpacked, assembled and tested on Sunday, November 12th, 2023.
Now where do I put it?
Received on Friday, November 10th, 2023 and finally unpacked, assembled and tested on Sunday, November 12th, 2023.
Now where do I put it?
Have two new kittens (Nellie & Ellie) born September 1st, 2016.
Thingiverse posted a Customizable Lithophane that I have been printing using different colors. The translucent green worked well for Yoda, but white looks the best because then it really looks like a black & white photo.
For some reason I am too busy doing things to have any great desire to write about them. I guess I’m not the only one…
Well, I did finally get my heated bed built and it worked the first time without any problems. I am using a 220vac silicon heating mat that has adhesive backing that allows attaching it to my aluminum heating plate (4mm). I am using a 0,9mm GFK printing plate that works great for both PLA and ABS. The best thing since sliced bread. I am currently only printing with PLA and glass also works great as a printing surface but the GFK printing plate only weights a few grams and is less than 1mm thick. The glass (4mm) almost weighs more than the aluminum plate.
I got a request for an object via email from someone in Karlsruhe that wants a specific object to attach to the backside of a printed circuit board.
You can also see my Black GFK printing plate!
Last November (2011) I was in Atlanta, GA visiting my sisters and nieces over Thanksgiving and also arranged to meet my favorite EE professor (John B. Peatman) from my alma mater Georgia Institute of Technology (GA Tech). I wanted to give him something made with my RepRap so I printed a GA Tech Yellow Jacket logo.
Considering I had to pause the print and change the filament by hand I think it turned out pretty well. It would have been impossible without the heated bed.
The last several weeks my Z axis was not moving properly as if it was loosing steps. This happened suddenly as a printed out two very large objects (naked lady RGB mood light) which turned out perfectly and then when printing the same gcode files they were only 5/6 the height that they were supposed to be!
Well, last night I finally searched for and found the cause of the problem; two teeth were broken off the Z stepper motor T5 gear so I replaced it with one out of aluminum (it certainly won’t break again).
Well it has been over 1 year and 3 months since my last post so I guess I win the title of the Worst RepRap Blogger in the World. I will post here a quick update and add additional entries on different topics over the next month (or so ).
Since my last blog entry (April 10th 2010) a lot has happened.
My first print occurred on July 26, 2010 (using the RepRap Host to generate gcode) and it took me until the end of December 2010 until I was getting the quality that I wanted (using Skeinforge to generate the gcode).
I have gone through a number of hot ends and now have a reliable design (from Stoffel15).
I added a Mendel print light by placing a very bright 15 LED bar on the back of the Mendel circuit board plate wired directly to the +12v power supply such that the light is always on when the Mendel has power.
I went through a couple of different filament mounts until I found the one I am currently using which is a combination of SIMPLE SPOOL HOLDER FOR MENDEL and Yet another dispenser for filament spools (Use only the Wheel.stl file).
Just last weekend I posted my design for a Mendel Filament Guide which is my current solution to being able to feed the filament without rubbing against the threaded bar. It is actually based on the frame vertex although you wouldn’t necessarily realize it by looking at the brackets.
I am currently using a 0.5mm nozzle and printing at a layer height of 0.375mm. I have accumulated a huge box of printed objects over the last 6 months some of which you can see in my Thingiverse MADE page. I am currently printing exclusively in PLA and currently have 12 different colors!
My next two big changes are to add the heated bed plus an LCD and Keypad. For BOTH of these projects I now have all the needed components I just need to do the work of putting it together. O.K. – the LCD/Keypad support will also require some firmware changes but it will be worth it to be able to use the Mendel stand-alone.
Well it’s been over a month since my last blog entry and I have managed to accomplish quite a bit with the help of several individuals.
After unsuccessfully trying to obtain the Mendel RP parts I made contact with Hans Reiner Ott (Holzwurm in the RepRap forums) who is self employed and has a workshop near Hamburg, Germany.
He had started to do a wooden Mendel and his first pieces looked very nice (posted in the German User Group). He was already assisting some others and he said that making a few extra copies was no problem so I received my first delivery of Mendel parts made out of MDF.
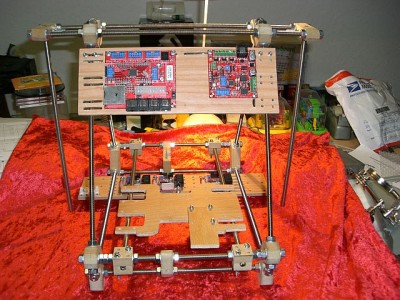
While Reiner was figuring out how to simplify the Y-axis to be able to create it with wood and plastic I was contacted by Stefan Maurer (RepRapParts) and asked if I still needed RP parts (which of course I did). So, since Holzwurm was already working on how to create Y-axis parts RepRapParts started making RP parts for the X-axis. Several days later he was ready to ship the parts. As soon as I received them I constructed my Mendel X-axis.
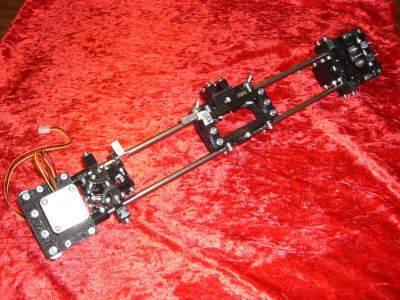
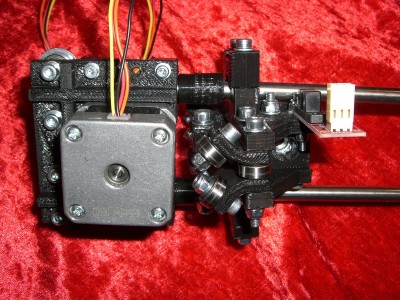
Motor and 360 Bearing:
Extruder sled:
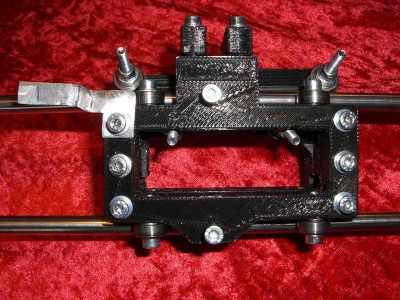
Idler and 180 Bearing:
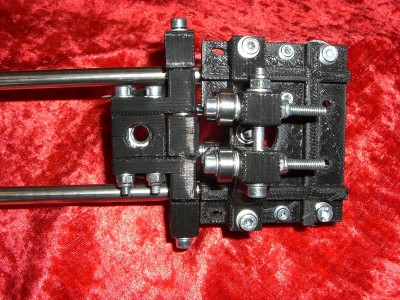
Around the same time as RepRapParts I had contact with Markus Amsler who offered to create the necessary RP gears for the motors and Z-axis for only the cost of shipping. He has made this offer to the RepRap community because he has successfully built a wooden Mendel and this was a serious stumbling block to his progress. So I arranged to get two sets: one for myself (rhmorrison) and one for Holzwurm. I sent Reiner his set and had also had sent to him a complete set of bearings for his Mendel.
Then Reiner let me know that it would be a while with the Y-axis parts because he was going to have a busy week and he wouldn’t be mad if I got Stefan to also make the Y-axis parts. So the deal was made and yesterday I received the Y-axis parts and immediately assembled it.
Reiner already had the Z-axis parts created (before he started on the Y-axis) and wanted to send them to me but his wife drove around with the package in her car for a couple of days so Reiner decided to wait to send the Z-axis parts until he received the belt splitter jigs that he is receiving from another German RepRapper. These parts I am waiting for to be able to complete the mechanical construction of the Mendel Cartesian Robot.
I also received notification from the customs office that they are holding a package for me. This is two Wade Nema17 geared extruders that was shipped on March 19, 2010 by RustySpoon1121 (see his offer in the forums)! So I will try to pick this up on Monday, April 12, 2010 and I can then assemble two extruders: one for me; the other for Reiner (his will have everything except the motor, he has enough of those).
So what’s next on the schedule – while waiting for the Z-axis parts and the belt splitter jig that I desperately need I can modify the electronics (change from MakerBot to RepRap design) and possibly do some initial hardware tests. Before I can send Reiner his extruder I must fully test it to make sure that it extrudes without any problems.
That’s all Folks!
Well it’s March already and I already have all the components needed to build a RepRap “Version II” Mendel EXCEPT for the RP parts. So what else is new. There was one set offered on EBay.de but I got outbid at the last minute.
I then thought about going the same route as nophead (Chris Palmer) and his Hydraraptor and found this XY table on EBay.de. Again got outbid at the last second. I was a little worried about it’s size: 600 mm x 570 mm but it looked like it would have worked very well. I also wasn’t sure if I was going to be able to use my Mendel Gen 3 electronics to drive the thing either…
Have then been thinking about building a RepStrap and despite all the negative messages in the forums still feel that the McWire is the simplest design that is currently well documented! Have been following the German RepRap Foundation as they are building (and selling the components for) a McWire cheaper than what I have found in the hardware stores.
Then I thought before going the McWire route I would appeal one more time in the forum to my fellow reprappers to see if someone might have a set of Mendel RP parts to sell. Coincidentally within hours a post appeared declaring that a complete set of Mendel RP parts is going up for sale on EBay.uk!
And the biggest surprise is the creator of the parts is none other than Adrian Bowyer himself (the father of the RepRap project)! The EBay auction doesn’t end until March 14th so I can’t do anything more as far as obtaining the RP parts (or building a McWire) until I know if I am going to win (or lose) the auction.
So I guess I can at least modify the MakerBot Gen 3 electronics for the RepRap (mostly changing some connectors) and run the tests described in the wiki for the various boards. Also still need to cut out the thin parts from some aluminum that I pulled out of an old hp LaserJet IIIP laser printer. Also removed the stepper motor and fan in case I might need them for something. Also must assemble the v2.1 Opto Endstop kit (well at least 3 of the 6 boards).
I did make one contact on the forums with someone who works in Frankfurt and has a CNC mill so I may go visit him on a weekend when I am ready to add a heated bed to my Mendel (or RepStrap). Already have purchased some aluminum plates on Ebay in anticipation of needing a heated bed since I plan on extruding ABS (at least initially). I really like the design nophead came up with using a kapton covered steel plate magnetically attached to his heated aluminum plate known as the Quick Release Bed!
So I guess it’s hurray up and wait to see if I am the lucky winner (highest bidder) of the Mendel RP parts or not…
UPDATE on 6 March 2010 @ 06:12: Still 8 days to go on the auction and I’ve been outbid twice. Already at 250 English Pounds!